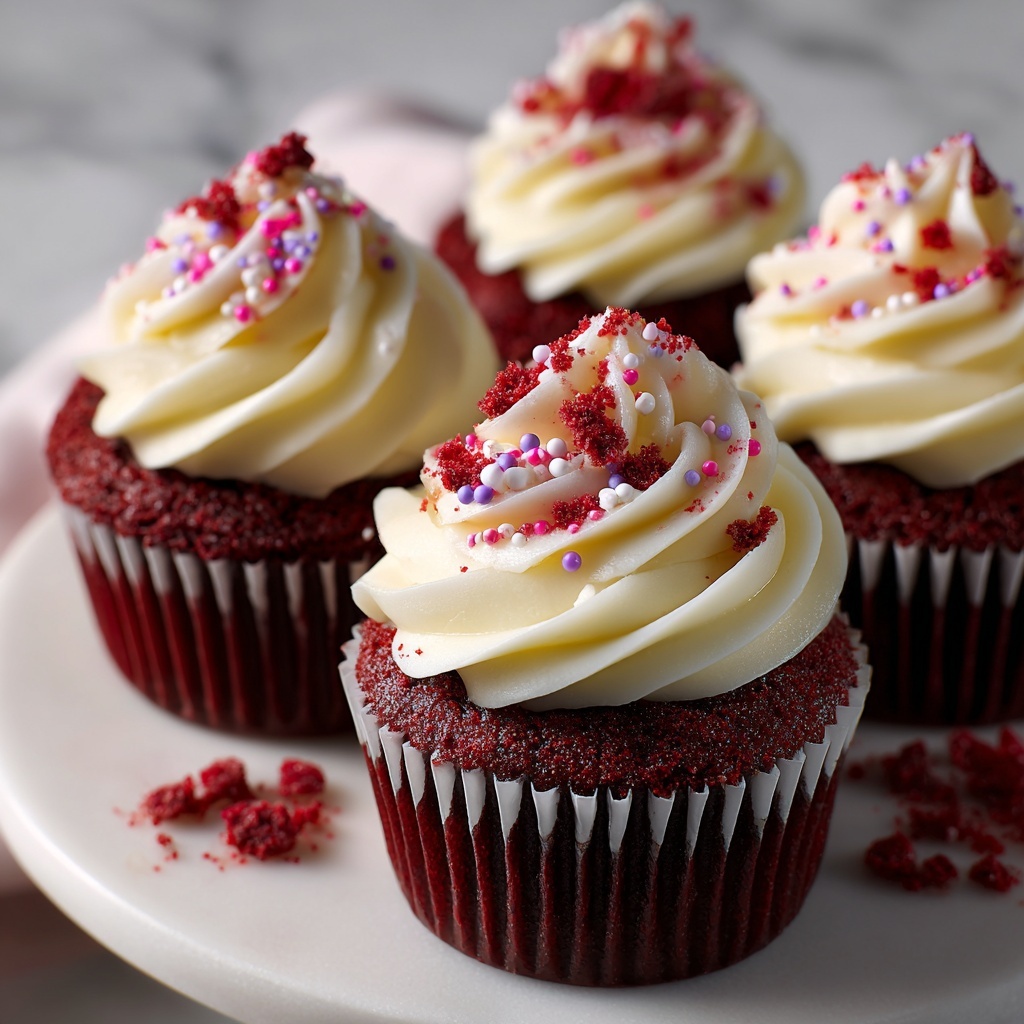
If you’re searching for a dessert that perfectly captures the spirit of love and indulgence, look no further than this Classic Red Velvet Valentine Cupcakes Recipe. These cupcakes are like little bites of joy that combine a tender, velvety crumb with a stunning red hue and a luscious cream cheese frosting that melts in your mouth. Whether you’re planning a romantic surprise or simply want to treat yourself to something sweet, this recipe will quickly become a favorite for Valentine’s Day or any special occasion that calls for a bit of extra sweetness.
Ingredients You’ll Need
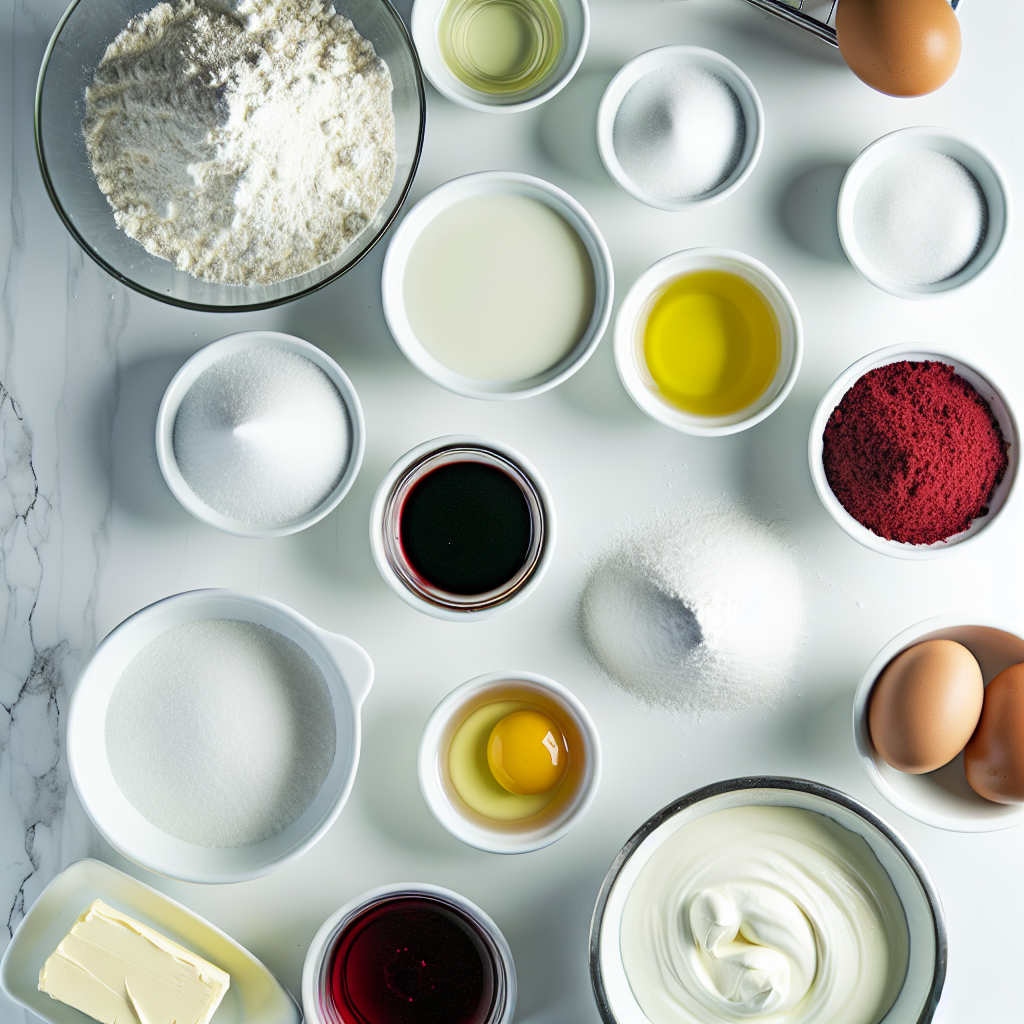
Sometimes the best recipes come together with simple ingredients that work harmoniously to create magic in the kitchen. Each item here plays a critical role in delivering the perfect balance of flavor, color, and texture that makes this Classic Red Velvet Valentine Cupcakes Recipe so memorable.
- All-purpose flour: The base that gives structure to your cupcakes and ensures a tender crumb.
- Granulated sugar: Provides the perfect amount of sweetness and helps with moisture retention.
- Baking soda: Leavens the batter, giving the cupcakes a light and airy texture.
- Cocoa powder: Adds a subtle chocolate depth, enhancing the red velvet flavor without overpowering it.
- Salt: Balances flavors and enhances the sweetness.
- Vegetable oil: Keeps the cupcakes moist and tender for days.
- Buttermilk: Reacts with baking soda to create a soft crumb and adds a slight tang for complexity.
- Eggs: Bind ingredients together and provide richness.
- Red food coloring: The star that gives your cupcakes their iconic vibrant red color.
- Vanilla extract: Adds warmth and depth to both the cupcake and frosting flavors.
- White vinegar: Enhances the red color and tenderizes the crumb.
- Cream cheese: The creamy base for the frosting that makes every bite oh-so indulgent.
- Unsalted butter: Adds richness and smoothness to the frosting.
- Powdered sugar: Sweetens and thickens the frosting for a perfect spreadable texture.
How to Make Classic Red Velvet Valentine Cupcakes Recipe
Step 1: Prepare Your Baking Setup
Start by preheating your oven to 350°F (175°C) and lining a cupcake pan with paper liners. This ensures your cupcakes bake evenly and makes cleanup a breeze.
Step 2: Combine Dry Ingredients
In a large bowl, whisk together the all-purpose flour, granulated sugar, baking soda, cocoa powder, and salt. Mixing these first helps distribute everything evenly, creating a smooth base for your batter.
Step 3: Whisk Wet Ingredients
In a separate bowl, vigorously whisk the vegetable oil, buttermilk, eggs, red food coloring, vanilla extract, and white vinegar until well combined. This mixture brings moistness and that signature red velvet vibrancy to the batter.
Step 4: Bring Wet and Dry Together
Pour the wet ingredients into the dry and gently fold them together until just combined. Avoid over-mixing as that can make your cupcakes dense instead of light and fluffy.
Step 5: Fill Cupcake Liners
Divide the batter evenly among the cupcake liners, filling each about two-thirds full. This allows room for the cupcakes to rise beautifully without spilling over.
Step 6: Bake to Perfection
Bake in the preheated oven for 20-22 minutes or until a toothpick inserted into the center comes out clean. The smell will be irresistible by now, so try to resist eating them straight from the oven!
Step 7: Cool Completely
Once baked, let the cupcakes cool fully in the pan, then transfer to a wire rack. Frosting warm cupcakes can cause your frosting to melt, so patience here is key.
Step 8: Make the Cream Cheese Frosting
Beat together the softened cream cheese and unsalted butter until silky and smooth. Gradually add the powdered sugar and vanilla extract, mixing well after each addition until you have a fluffy, spreadable frosting.
Step 9: Frost and Decorate
Scoop or pipe your luscious cream cheese frosting onto the cooled cupcakes. Feel free to get creative with sprinkles, heart-shaped candies, or edible glitter for that extra Valentine’s Day charm!
How to Serve Classic Red Velvet Valentine Cupcakes Recipe
Garnishes
These cupcakes shine on their own, but a few garnishes can elevate them even more. Consider heart-shaped sprinkles, fresh raspberries, or delicate edible flowers for a romantic visual and flavor boost.
Side Dishes
Pair these cupcakes with a light berry salad or a cup of rich hot cocoa to complement the deep red velvet flavor and creamy frosting. A glass of cold milk also works wonderfully if you want to keep it classic and simple.
Creative Ways to Present
For a truly special Valentine’s Day display, arrange the cupcakes on a tiered cake stand or individual charming gift boxes. Personalize each one with a tiny note, making your presentation as heartfelt as the cupcakes themselves.
Make Ahead and Storage
Storing Leftovers
After enjoying your cupcakes, store leftovers in an airtight container in the refrigerator to keep the cream cheese frosting fresh. Properly stored, they will stay delightful for up to three days.
Freezing
You can freeze unfrosted cupcakes by wrapping them tightly in plastic wrap and placing them in a freezer-safe container. When ready to enjoy, thaw overnight in the refrigerator, then frost just before serving.
Reheating
If you’d like to warm your cupcakes slightly, remove the frosting or frost after warming, then apply fresh frosting. Gently warm them at room temperature or for a few seconds in the microwave to bring back softness without melting the frosting.
FAQs
Can I use natural food coloring instead of artificial red food coloring?
Absolutely! Beet juice or powder can be a great natural alternative, but keep in mind it might give a slightly different hue and flavor to your cupcakes.
What if I don’t have buttermilk on hand?
You can easily make a buttermilk substitute by adding a tablespoon of white vinegar or lemon juice to a cup of milk, letting it sit for 5 minutes before using.
How do I prevent the cream cheese frosting from becoming runny?
Make sure both the cream cheese and butter are softened but not melted, and don’t add liquid ingredients. Also, chill the frosting if your kitchen is warm before applying it to cupcakes.
Can I make these cupcakes dairy-free?
Yes, with some substitutions like using dairy-free cream cheese and butter alternatives, plus a suitable milk substitute, you can create a delicious dairy-free version.
Why do red velvet cupcakes have vinegar in the batter?
The vinegar reacts with the baking soda to lighten the texture and enhances the red color, as well as contributing a subtle tang that balances the sweetness.
Final Thoughts
Making this Classic Red Velvet Valentine Cupcakes Recipe feels like sharing a warm hug in dessert form. With its vibrant color, tender crumb, and luscious frosting, it’s a treat that’s sure to bring smiles and sweet moments. So, gather your ingredients and dive into this recipe—you’ll find it’s as joyful to bake as it is to eat!
Print
Classic Red Velvet Valentine Cupcakes Recipe
- Prep Time: 20 minutes
- Cook Time: 22 minutes
- Total Time: 42 minutes
- Yield: 12 cupcakes
- Category: Dessert
- Method: Baking
- Cuisine: American
Description
Classic Red Velvet Valentine Cupcakes are a delightful treat perfect for celebrating love. These moist, tender cupcakes feature a hint of cocoa and a vibrant red hue, topped with a rich and creamy cream cheese frosting. Easy to make and irresistibly delicious, they are sure to melt hearts on any special occasion.
Ingredients
Cupcakes
- 1 1/2 cups all-purpose flour
- 1 cup granulated sugar
- 1 teaspoon baking soda
- 1 teaspoon cocoa powder
- 1 teaspoon salt
- 1 cup vegetable oil
- 1 cup buttermilk
- 2 large eggs
- 2 tablespoons red food coloring
- 1 teaspoon vanilla extract
- 1 teaspoon white vinegar
Frosting
- 8 oz cream cheese, softened
- 1/2 cup unsalted butter, softened
- 4 cups powdered sugar
- 1 teaspoon vanilla extract (for frosting)
Instructions
- Preheat and prepare pans: Preheat the oven to 350°F (175°C) and line a cupcake pan with cupcake liners to prevent sticking and ensure easy removal.
- Mix dry ingredients: In a large bowl, whisk together the all-purpose flour, granulated sugar, baking soda, cocoa powder, and salt until well combined.
- Combine wet ingredients: In a separate bowl, whisk together the vegetable oil, buttermilk, eggs, red food coloring, vanilla extract, and white vinegar until smooth and evenly blended.
- Blend wet and dry: Gradually combine the wet ingredients with the dry ingredients, mixing until just incorporated. Avoid overmixing to keep the cupcakes tender.
- Fill cupcake liners: Spoon the batter into the prepared cupcake liners, filling each about two-thirds full for optimal rise and texture.
- Bake cupcakes: Bake in the preheated oven for 20-22 minutes or until a toothpick inserted into the center comes out clean.
- Cool cupcakes: Remove from the oven and allow cupcakes to cool completely on a wire rack before frosting.
- Prepare frosting: Using a mixing bowl, beat softened cream cheese and butter together until smooth and creamy. Gradually add powdered sugar and vanilla extract, beating well to create a fluffy frosting.
- Frost cupcakes: Once cooled, frost each cupcake generously with the cream cheese frosting. Decorate as desired for a festive touch.
Notes
- Use room temperature eggs and dairy to ensure smooth batter and frosting.
- For a more vibrant red color, use gel-based food coloring instead of liquid.
- If buttermilk is unavailable, substitute with milk plus 1 tablespoon of white vinegar or lemon juice, stirred and rested for 5 minutes.
- Make sure cupcakes are completely cool before frosting to prevent melting.
- Store frosted cupcakes in an airtight container in the refrigerator for up to 3 days.

