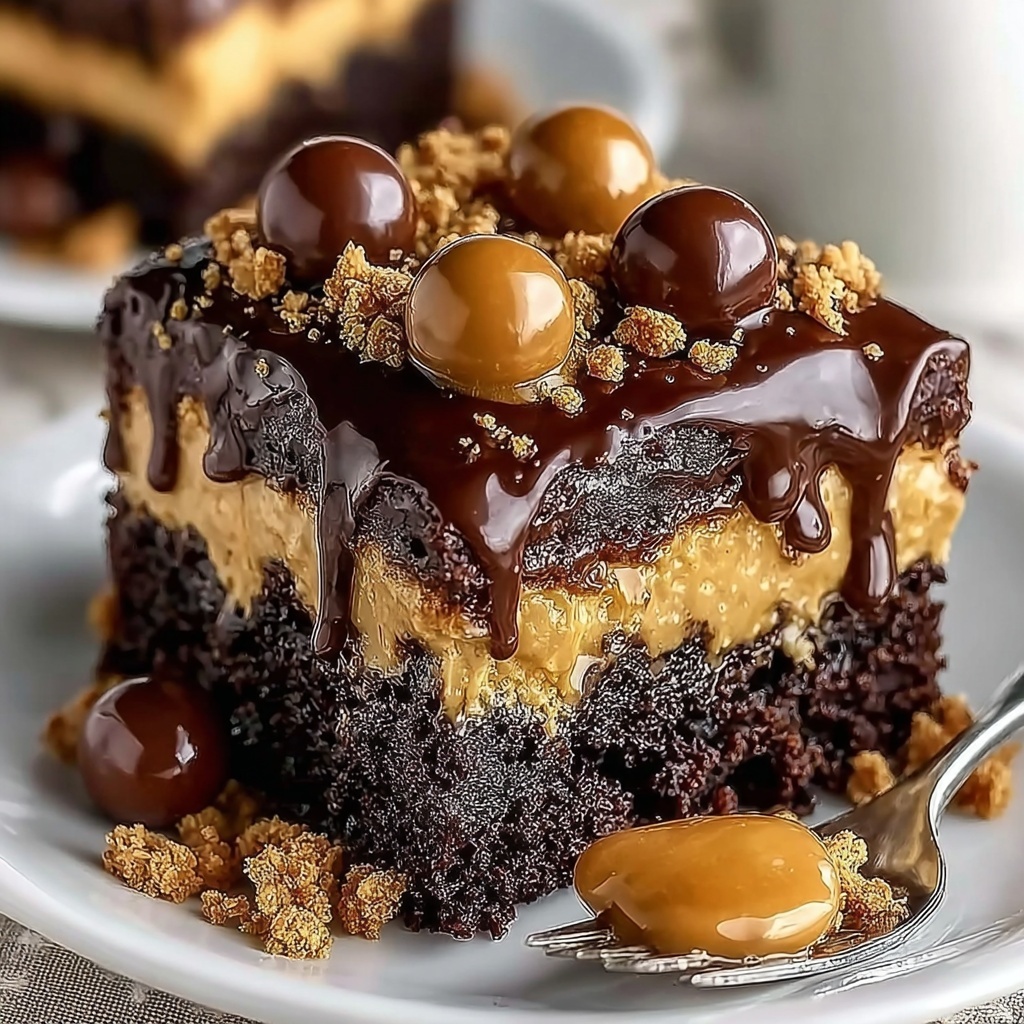
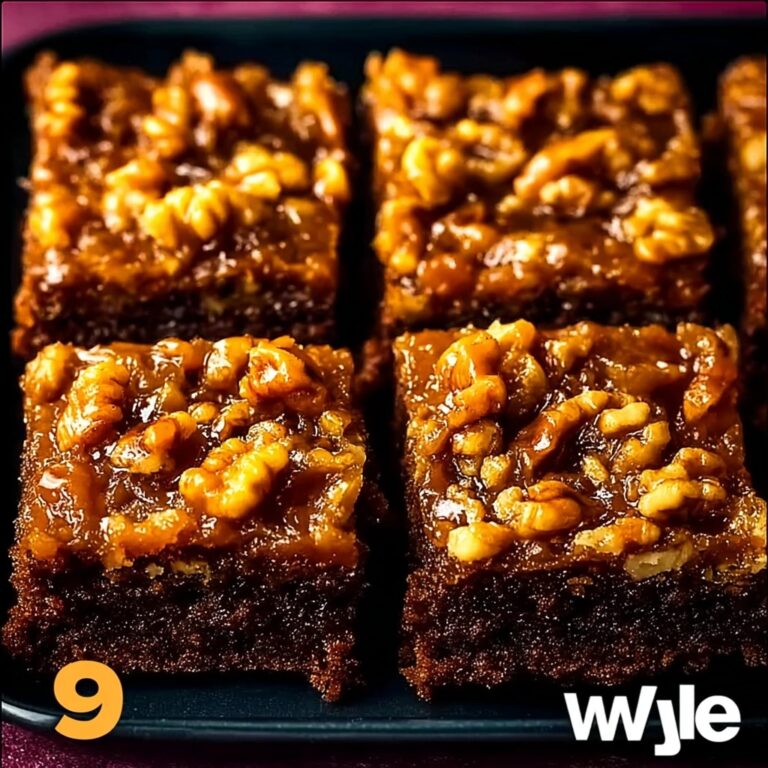
If you’re craving a truly indulgent treat that brings together the irresistible flavors of chocolate and peanut butter with minimal effort, you’re going to love this Peanut Butter Cup Dump Cake Recipe: Easy and Delicious! Recipe. This dessert is a delightful mashup of rich chocolate cake mix layered with creamy peanut butter, sweetened condensed milk, and a generous sprinkle of chopped peanut butter cups and chocolate chips, all baked to gooey, bubbly perfection. It’s not only a crowd-pleaser but also a fantastic way to satisfy your sweet tooth with simple pantry staples and practically no fuss.
Ingredients You’ll Need
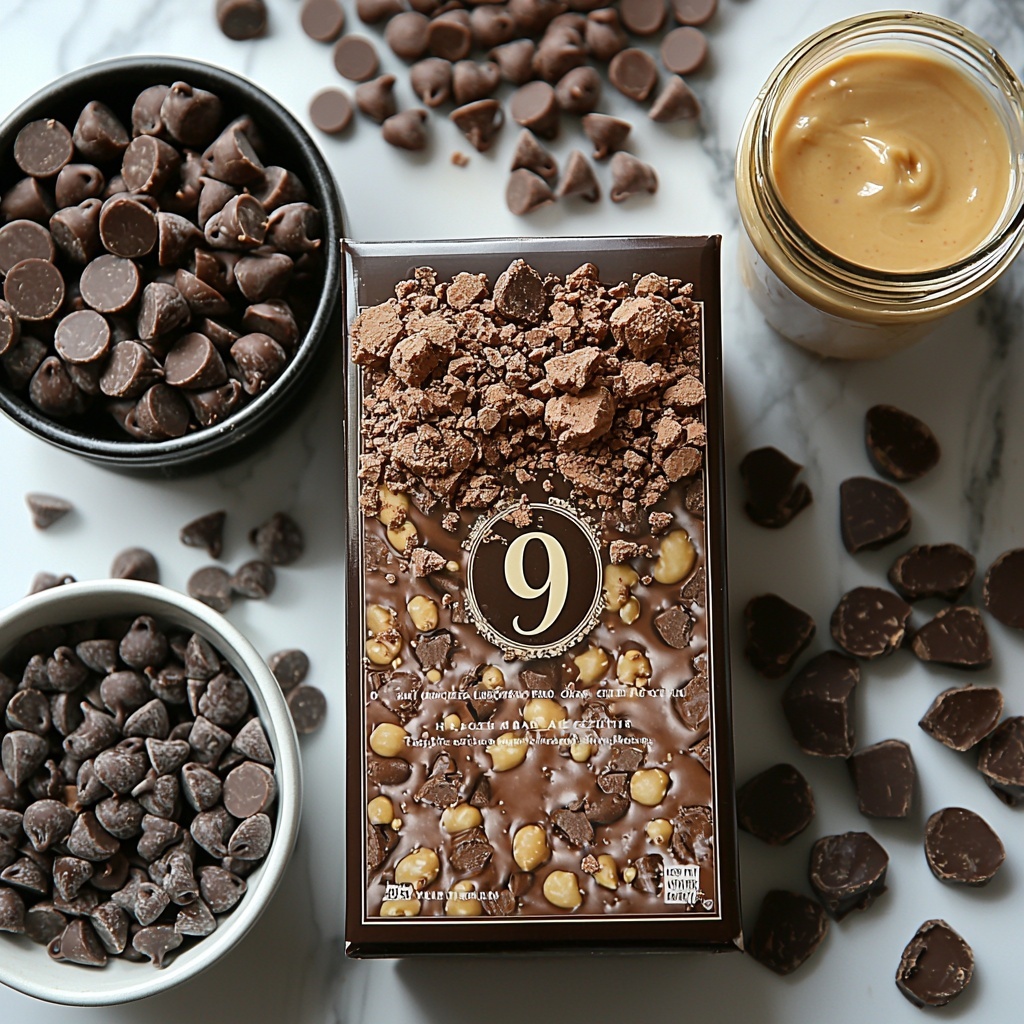
The beauty of this Peanut Butter Cup Dump Cake Recipe: Easy and Delicious! Recipe lies in its simplicity. Each ingredient is essential, combining to create a harmonious blend of creamy, crunchy, sweet, and chocolaty flavors that dance on your palate with every bite.
- 1 box chocolate cake mix: This forms the luscious chocolaty base and top crust, providing that classic cake texture.
- 1 cup creamy peanut butter: Adds smooth, nutty richness and pockets of flavor throughout the cake.
- 1 can sweetened condensed milk (14 ounces): Offers decadent sweetness and moisture, ensuring the cake stays gooey and tender.
- 3/4 cup unsalted butter, melted: Keeps the cake moist and helps create a crisp, golden topping when baked.
- 1 1/2 cups chopped peanut butter cups: These chunks add bursts of surprise and indulgence, enhancing the peanut butter-chocolate combo.
- 1/2 cup semi-sweet chocolate chips: Melts to add extra pockets of gooey chocolate richness.
- Nonstick cooking spray: Ensures easy removal and prevents sticking without altering flavors.
How to Make Peanut Butter Cup Dump Cake Recipe: Easy and Delicious! Recipe
Step 1: Prep Your Baking Dish
Begin by preheating your oven to 350 degrees Fahrenheit to get it to the perfect temperature for even baking. Lightly grease a 9×13-inch baking dish with nonstick cooking spray, so your cake comes out effortlessly after baking. This step might seem simple, but it’s crucial for that smooth release and clean edges.
Step 2: Create the Moist Base Layer
Pour the entire can of sweetened condensed milk evenly over the bottom of your prepared baking dish. This luscious layer acts like a sweet, creamy foundation that infuses moisture deep into the cake, so every bite is rich and satisfying.
Step 3: Add the Peanut Butter
Spoon the creamy peanut butter in small dollops atop the condensed milk. Placing it in small amounts helps it distribute evenly as the cake bakes, creating wonderful creamy pockets that make this dump cake truly special.
Step 4: Sprinkle the Fun Mix-Ins
Now it’s time to get playful: scatter chopped peanut butter cups and semi-sweet chocolate chips over the peanut butter dollops. These sweet chunks melt and swirl through the layers, adding delightful texture and extra bursts of chocolate-peanut butter goodness.
Step 5: Add the Cake Mix and Butter
Carefully spread the dry chocolate cake mix evenly over the entire pan without stirring in any other ingredients. This creates the characteristic ‘dump cake’ layered effect. Then, slowly drizzle melted butter over the cake mix, making sure to cover as much of the surface as possible. The butter melts into the cake mix during baking, forming a slightly crisp, golden crust that contrasts perfectly with the gooey center.
Step 6: Bake to Perfection
Place the baking dish in the oven and bake for 40 to 45 minutes. You’re looking for a set and slightly crisp top with a center that remains indulgently gooey but not runny. This play of textures is what makes this Peanut Butter Cup Dump Cake Recipe: Easy and Delicious! Recipe so irresistible. Once done, let it cool for 10 to 15 minutes before serving to allow the layers to set slightly.
How to Serve Peanut Butter Cup Dump Cake Recipe: Easy and Delicious! Recipe
Garnishes
A scoop of creamy vanilla ice cream drizzled with chocolate syrup is an absolute dream pairing with this dump cake, elevating its richness and adding a delightful temperature contrast. You can also sprinkle chopped roasted peanuts or a dusting of cocoa powder for extra flair and texture.
Side Dishes
While this dessert shines on its own, serving it alongside fresh berries or a simple fruit salad can cleanse the palate and add a bright, tangy contrast to the cake’s deep sweetness. For a cozy gathering, a cup of hot coffee or a rich mug of milk complements the flavors beautifully.
Creative Ways to Present
To impress your guests, serve this dump cake in rustic glass jars or mini ramekins topped with whipped cream and a peanut butter cup piece. You could also layer it in a trifle dish with whipped cream and crushed cookies for an elegant twist on this beloved Peanut Butter Cup Dump Cake Recipe: Easy and Delicious! Recipe.
Make Ahead and Storage
Storing Leftovers
Store any leftover cake covered tightly with plastic wrap or in an airtight container in the refrigerator. It will keep well for up to 4 days, and the flavors actually meld even more, making for delicious next-day treats.
Freezing
If you want to save some for later, this dump cake freezes wonderfully. Portion it out into airtight containers or freeze the whole dish wrapped securely in plastic wrap and foil. It’s best enjoyed within 2 months for optimal flavor and texture.
Reheating
To reheat, thaw the cake overnight in the refrigerator if frozen. Warm individual portions in the microwave for 20 to 30 seconds or heat the entire dish in a 325-degree oven covered with foil for about 15 minutes. Be sure to serve it warm, possibly with a scoop of ice cream for that extra luxurious feeling.
FAQs
Can I use crunchy peanut butter instead of creamy?
Absolutely! Crunchy peanut butter adds a lovely texture contrast, giving you those little bits of peanuts in every bite that complement the soft cake perfectly.
What if I don’t have peanut butter cups? What can I substitute?
If peanut butter cups aren’t on hand, chopped Reese’s Pieces or even peanut butter chips make great substitutes that keep the peanutty chocolate vibe alive. You could also try chopped Snickers for a fun twist.
Is this recipe suitable for vegetarians?
Yes, this Peanut Butter Cup Dump Cake Recipe: Easy and Delicious! Recipe is vegetarian-friendly since it doesn’t include any meat products. Just double-check your chocolate chips and peanut butter cups to ensure they meet your dietary preferences.
Can I make this gluten-free?
To make this dump cake gluten-free, swap the cake mix for a gluten-free chocolate cake mix. The rest of the ingredients are naturally gluten-free, making it easy to adapt without sacrificing flavor.
How do I know when the cake is done baking?
The top will be set and slightly crisp, with a golden hue, while the center remains gooey but not liquid. Because this is a dump cake, it’s okay if it’s a little molten inside, but it shouldn’t be runny like batter. Letting it cool after baking also helps it firm up.
Final Thoughts
This Peanut Butter Cup Dump Cake Recipe: Easy and Delicious! Recipe is a delightful game-changer for your dessert rotation. It’s straightforward enough for busy weeknights but indulgent enough to wow your family and friends at special gatherings. I can’t recommend it enough — once you try this deliciously gooey, chocolatey, peanut buttery masterpiece, it’ll quickly become a favorite go-to comfort dessert that you’ll reach for time and time again.
Print
Delicious Recipe
- Prep Time: 10 minutes
- Cook Time: 45 minutes
- Total Time: 55 minutes
- Yield: 12 servings
- Category: Dessert
- Method: Baking
- Cuisine: American
- Diet: Vegetarian
Description
This Peanut Butter Cup Dump Cake is a quick and easy dessert combining rich chocolate cake mix with creamy peanut butter, sweetened condensed milk, and peanut butter cups. Perfectly gooey in the center with a slightly crisp top, this decadent treat is ideal for peanut butter and chocolate lovers looking for a fuss-free dessert.
Ingredients
Main Ingredients
- 1 box chocolate cake mix
- 1 cup creamy peanut butter
- 1 can (14 ounces) sweetened condensed milk
- 3/4 cup unsalted butter, melted
- 1 1/2 cups chopped peanut butter cups
- 1/2 cup semi-sweet chocolate chips
- Nonstick cooking spray
Instructions
- Prepare the Baking Dish: Preheat your oven to 350°F (175°C). Lightly grease a 9×13-inch baking dish with nonstick cooking spray to prevent sticking.
- Add Sweetened Condensed Milk: Pour the sweetened condensed milk evenly across the bottom of the prepared baking dish as the base layer.
- Distribute Peanut Butter: Spoon small dollops of the creamy peanut butter over the condensed milk to help it spread evenly across the layer.
- Add Peanut Butter Cups and Chocolate Chips: Sprinkle the chopped peanut butter cups and semi-sweet chocolate chips evenly over the peanut butter layer for added texture and flavor.
- Layer Dry Cake Mix: Sprinkle the dry chocolate cake mix evenly over the entire surface without stirring, creating a layered effect.
- Drizzle Melted Butter: Slowly drizzle melted unsalted butter over the cake mix, covering as much of the surface as possible to ensure the cake bakes properly.
- Bake the Cake: Place the baking dish in the preheated oven and bake for 40 to 45 minutes, or until the top is set and slightly crisp while the center remains gooey but not liquid.
- Cool and Serve: Let the cake cool for 10 to 15 minutes before serving to allow the layers to set. For extra indulgence, serve warm with vanilla ice cream.
Notes
- For extra richness, serve the cake warm topped with vanilla ice cream.
- Use crunchy peanut butter instead of creamy for added texture contrast.
- Store leftovers covered in the refrigerator for up to 4 days to maintain freshness.

