If you have ever dreamed of turning a snowy day into a deliciously memorable moment, this Easy Snow Ice Cream Recipe: A Fun Winter Treat Made with Real Snow Recipe is exactly what you need. Imagine scooping up fresh, fluffy snow and blending it with sweetened condensed milk and vanilla to create a creamy, dreamy ice cream that is as magical as the winter wonderland outside your window. This is not only super simple to make but also incredibly fun to share with family and friends, bringing a touch of childhood nostalgia and pure joy to your chilly afternoons. Get ready to delight in a treat that’s cold, creamy, and bursting with happiness!
Ingredients You’ll Need
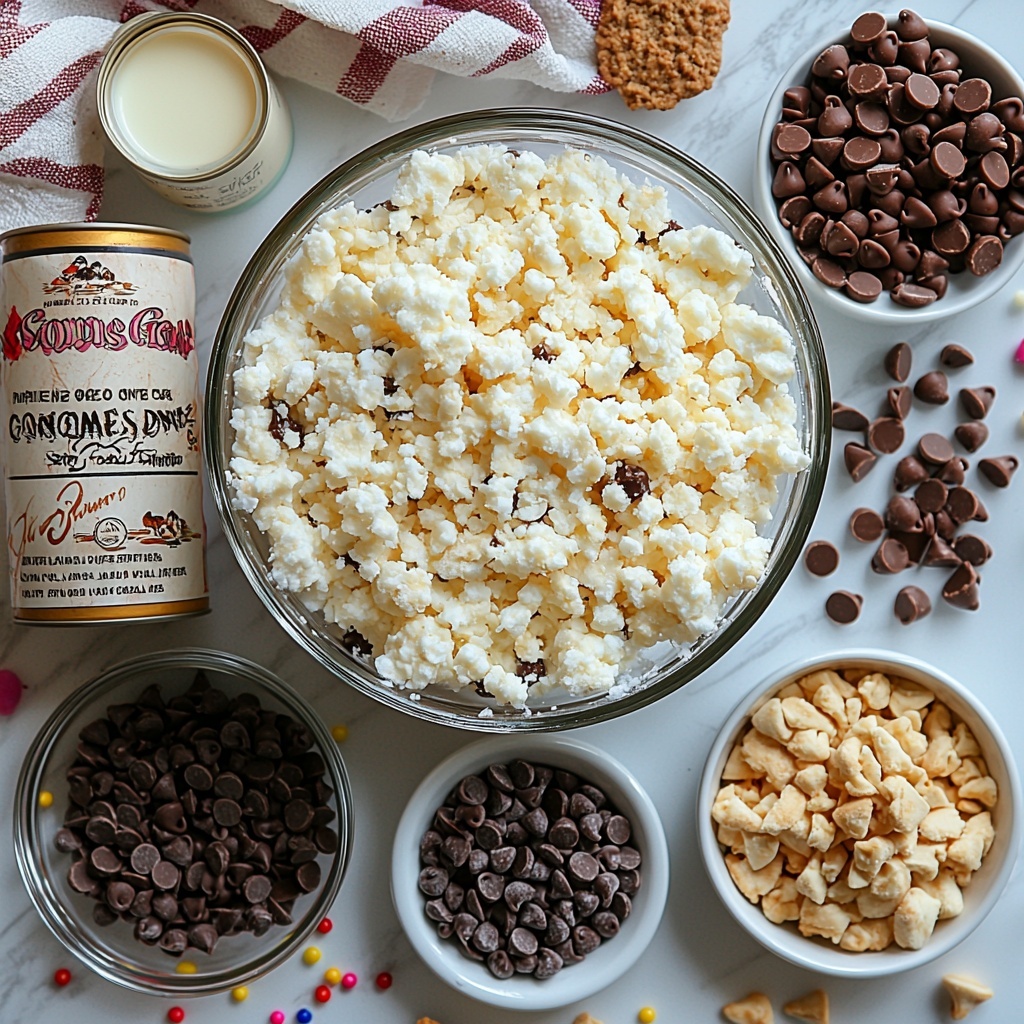
Making this delightful snow ice cream is a breeze thanks to the handful of simple ingredients that each play a crucial role in creating its perfect taste and texture. These essentials combine to give you a luscious dessert that’s light, sweet, and just right for a fun winter day.
- 6–8 cups fresh, clean snow: The fluffy base that gives this ice cream its unique texture and seasonal charm.
- 1 (14-ounce) can sweetened condensed milk: Adds sweetness and a rich, creamy mouthfeel that perfectly balances the snow’s chill.
- 1 teaspoon vanilla extract: Brings warmth and depth of flavor to the ice cream, enhancing every bite.
- Optional toppings (sprinkles, chocolate chips, crushed cookies, chocolate syrup): Fun extras that allow you to customize your dessert and add texture and color.
How to Make Easy Snow Ice Cream Recipe: A Fun Winter Treat Made with Real Snow Recipe
Step 1: Gather the Freshest Snow
First things first, make sure you collect your snow from a clean spot, ideally during an active snowfall. Fresh, uncontaminated snow is essential because it ensures your ice cream’s flavor stays pure and its texture is light and fluffy.
Step 2: Combine Snow and Condensed Milk
In a large mixing bowl, start by adding 6 cups of that beautiful fresh snow as your base. Pour in the sweetened condensed milk, which instantly transforms the cold fluff into something creamy and indulgent.
Step 3: Add the Vanilla Extract
Add the teaspoon of vanilla extract for that subtle, comforting flavor that rounds out the sweetness and adds a gourmet touch to your treat.
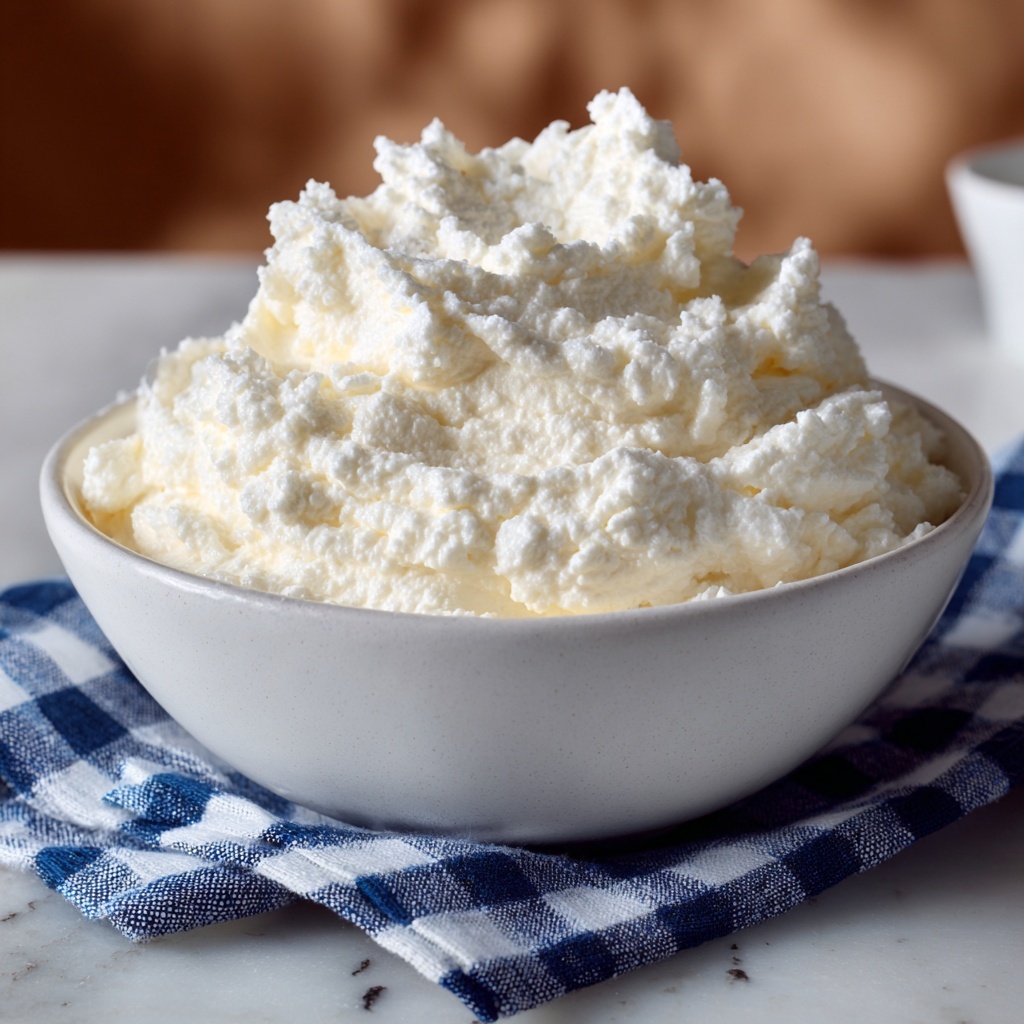
Step 4: Gently Fold to the Perfect Consistency
With a spatula or spoon, gently fold the ingredients together until the mixture thickens to a soft-serve ice cream consistency. If it feels too runny, simply add a bit more snow until you achieve that scoopable perfection.
Step 5: Serve Immediately and Add Toppings
Since snow ice cream melts quickly, serve it right away in bowls or cones, and don’t forget to sprinkle on your favorite toppings to make every serving uniquely delightful.
How to Serve Easy Snow Ice Cream Recipe: A Fun Winter Treat Made with Real Snow Recipe
Garnishes
Elevate your snowy dessert by adding colorful sprinkles for a festive look, crunchy chocolate chips for a decadent bite, or crushed cookies that add a delightful crunch. A drizzle of chocolate syrup can turn this simple treat into an irresistible indulgence perfect for any winter gathering.
Side Dishes
This ice cream shines on its own, but it also pairs wonderfully with warm treats like freshly baked gingerbread cookies or soft brownies. Serving it alongside these warm sides creates a beautiful contrast of temperatures and textures that’s a true winter delight.
Creative Ways to Present
Get playful by serving the snow ice cream in waffle cones, cute mason jars, or even hollowed-out snowballs for a whimsical presentation. You can also layer it with fruit preserves or powdered sugar for a more elegant twist. The presentation possibilities are as limitless as your winter imagination!
Make Ahead and Storage
Storing Leftovers
This Easy Snow Ice Cream Recipe: A Fun Winter Treat Made with Real Snow Recipe is best enjoyed immediately because it melts quickly. If you have leftovers, keep them stored in the freezer in an airtight container, but be prepared for some change in texture once thawed.
Freezing
If you want to save some for later, freeze the ice cream in a sealed container. However, freezing may cause it to become icy or hard, so a quick stir before serving can help refresh its creamy consistency.
Reheating
Reheating isn’t necessary or recommended for snow ice cream, as its magic lies in its icy, fresh-from-the-snow sensation. Instead, enjoy it cold and fresh for the best experience every time.
FAQs
Can I use old snow for this recipe?
It’s best to use fresh, clean snow collected during an active snowfall to ensure your ice cream tastes pure and is safe to eat. Old or packed snow can harbor impurities and won’t have that fluffy texture.
Can I make chocolate snow ice cream with this recipe?
Absolutely! Simply mix in 2 tablespoons of cocoa powder or chocolate syrup with the condensed milk before folding it into the snow for a luscious chocolate twist.
How long does snow ice cream last before melting?
Snow ice cream melts quite quickly since it’s made with snow. It’s best to serve and eat it immediately after making for the most enjoyable texture and flavor.
Is this recipe suitable for kids?
Definitely! It’s a super fun and safe way for kids to enjoy a winter treat, especially when you help them collect the snow and add the toppings.
Can I store leftovers in the fridge?
Since this treat is made with snow, storing it in the fridge will cause it to melt quickly. Freezing is a better option if you want to save leftovers.
Final Thoughts
There’s something truly magical about enjoying a dessert made from fresh snow, and this Easy Snow Ice Cream Recipe: A Fun Winter Treat Made with Real Snow Recipe is your ticket to capturing that winter wonder in a bowl. It’s simple, sweet, and incredibly joyous—a perfect way to create warm memories even on the coldest days. So next time it snows, grab a bowl, some toppings, and dive into this fabulous snow ice cream for a treat that’s pure winter bliss.
Print
Easy Snow Ice Cream Recipe: A Fun Winter Treat Made with Real Snow Recipe
- Prep Time: 5 minutes
- Cook Time: 0 minutes
- Total Time: 5 minutes
- Yield: 4 servings
- Category: Dessert
- Method: No-Cook
- Cuisine: American
- Diet: Vegetarian, Gluten Free
Description
Easy Snow Ice Cream is a delightful and simple winter treat made by combining fresh, clean snow with sweetened condensed milk and vanilla extract. This fun, no-cook dessert mimics the texture of soft-serve ice cream and can be customized with your favorite toppings like sprinkles, chocolate chips, or crushed cookies. Perfect for snowy days, this recipe offers a quick and tasty way to enjoy the flavors of homemade ice cream without the need for an ice cream maker.
Ingredients
Ice Cream Base
- 6–8 cups fresh, clean snow
- 1 (14-ounce) can sweetened condensed milk
- 1 teaspoon vanilla extract
Optional Toppings
- Sprinkles
- Chocolate chips
- Crushed cookies
- Drizzle of chocolate syrup
Instructions
- Collect the Snow: In a large mixing bowl, add 6 cups of fresh, clean snow. You can start with this amount and gradually add more snow as needed to achieve the desired soft-serve ice cream consistency.
- Add Sweetened Condensed Milk and Vanilla: Pour in the entire 14-ounce can of sweetened condensed milk along with 1 teaspoon of vanilla extract to the bowl containing the snow.
- Mix Until Smooth: Gently fold the snow, sweetened condensed milk, and vanilla together using a spatula or large spoon. Continue mixing until the mixture reaches a soft, scoopable texture similar to soft-serve ice cream.
- Serve Immediately: Scoop the snow ice cream into bowls or cones. Add your favorite optional toppings such as sprinkles, chocolate chips, crushed cookies, or a drizzle of chocolate syrup if desired, and enjoy right away before it melts.
Notes
- For a chocolate-flavored version, stir in 2 tablespoons of cocoa powder or chocolate syrup along with the sweetened condensed milk before mixing with the snow.
- Always collect snow from a clean surface during active snowfall. Avoid using old, dirty, or packed snow for safety and taste reasons.
- This recipe is best enjoyed immediately after preparation since it melts quickly.


