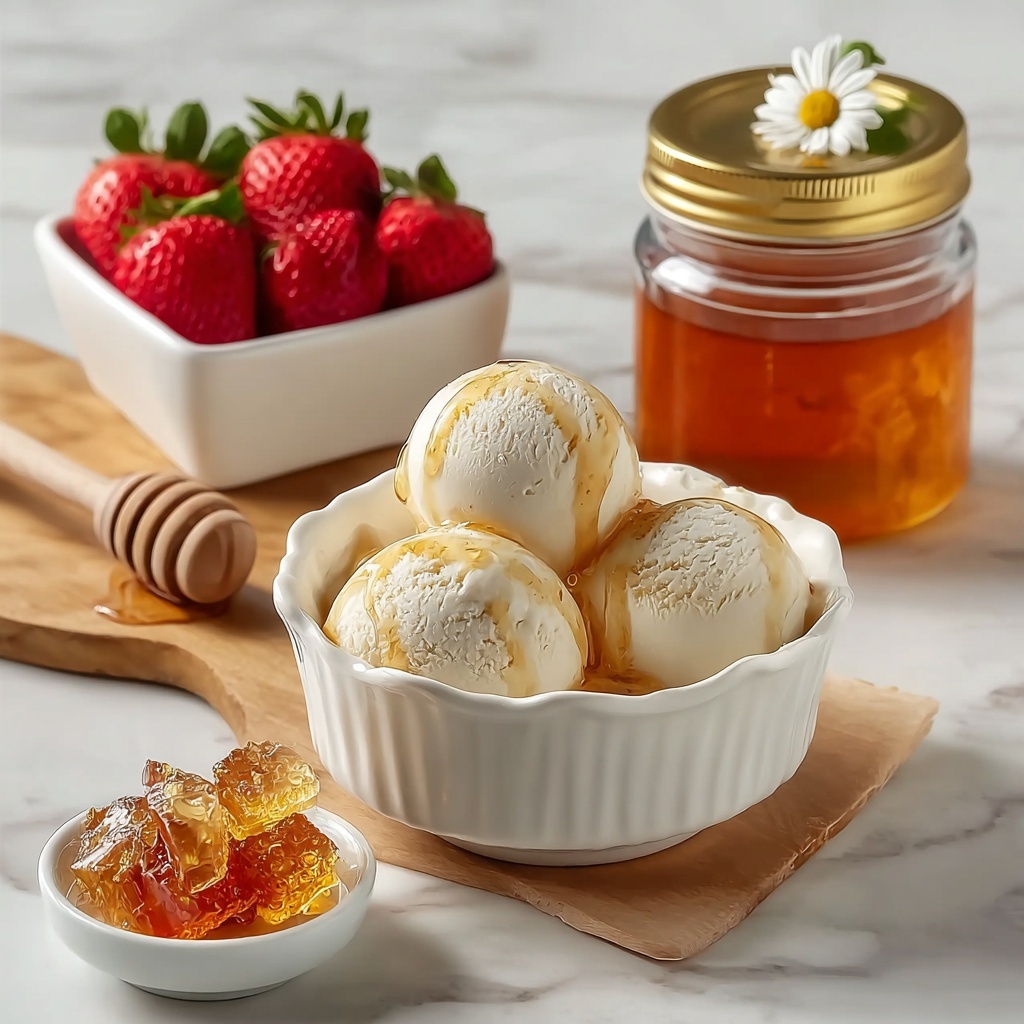
If you’re looking for a dessert that’s both indulgently creamy and naturally sweet, this Nourishing Honey Ice Cream Recipe is an absolute game changer. Using wholesome ingredients like honey and fresh dairy, it delivers a velvety texture with subtle floral notes that brighten every spoonful. This recipe brings the comfort of a classic ice cream, yet it’s layered with the nourishing goodness that only pure honey can offer—making it perfect for those who want dessert that feels as good as it tastes.
Ingredients You’ll Need
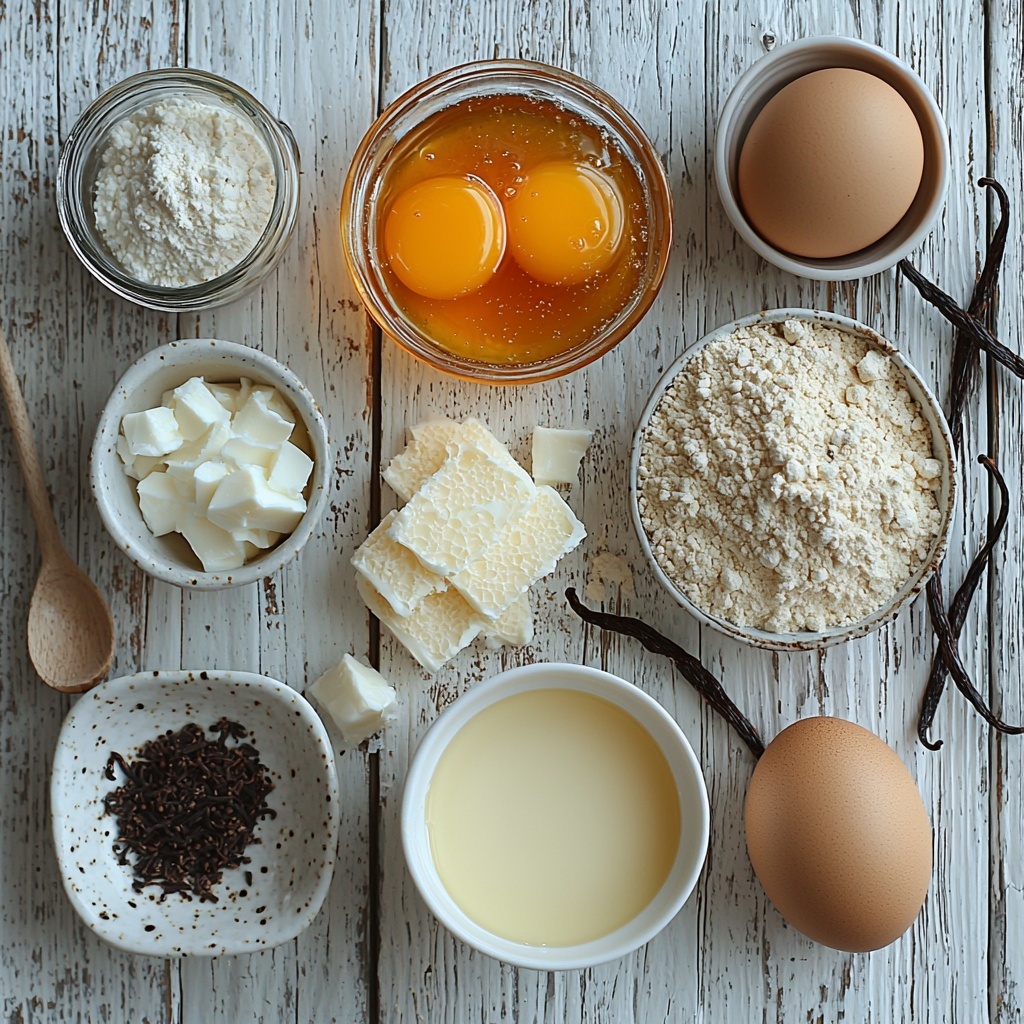
This recipe calls for a handful of simple but very carefully chosen ingredients. Each plays a crucial role, whether it’s building richness, sweetening naturally, or adding body to the ice cream’s luxuriously smooth texture.
- Whole Milk: Provides a creamy base with a perfect balance of fat and freshness to keep the ice cream light but satisfying.
- Heavy Cream: Adds luscious richness and silky mouthfeel that defines great ice cream.
- Honey: The star ingredient that sweetens gently while adding complex floral flavors and a creamy texture.
- Vanilla Bean Paste: Infuses a fragrant vanilla aroma and tiny flecks of real vanilla bean for visual and flavor interest.
- Dry Milk Powder: Enhances the creaminess and helps prevent ice crystals for that perfectly smooth scoop.
- Egg Yolks: Create a classic custard base, lending richness and stabilizing the ice cream as it churns.
How to Make Nourishing Honey Ice Cream Recipe
Step 1: Gently Warm Your Base
Begin by whisking together the honey, whole milk, and dry milk powder in a saucepan until everything is smooth and lump-free. Then pour in the heavy cream to marry all the liquids evenly. Warm this mixture over medium heat for 6 to 10 minutes, stirring occasionally to gently infuse the flavors and avoid scorching. This warming step is essential to dissolve the ingredients and prepare a silky base for your ice cream.
Step 2: Temper the Yolks
Separate your six large egg yolks into a clean bowl. Slowly add about half a cup of the warm milk mixture to the yolks while whisking constantly. This process is called tempering and prevents the eggs from scrambling when they’re returned to the heat. Pour the tempered yolk mixture back into the saucepan and cook it over medium heat for another 5 to 10 minutes, whisking frequently until it thickens a bit. This custard layer is what gives your ice cream its velvety body and rich flavor.
Step 3: Strain and Chill in an Ice Bath
Now, set up an ice bath by filling a large bowl with ice and cold water. Pour your cooked custard through a fine mesh strainer into another bowl to catch any cooked bits or lumps. Then, nestle this bowl in the ice bath and whisk in the vanilla bean paste. Cooling the mixture rapidly stops the cooking process and locks in those fresh, vibrant flavors while preventing any graininess.
Step 4: Refrigerate to Chill Thoroughly
Let the base sit in the ice bath for about an hour to cool completely. Afterward, cover it and pop it into the refrigerator for 1 to 2 hours. Chilling is key to developing the perfect texture when your ice cream churns—it enables the mixture to freeze more evenly and become creamy rather than icy.
Step 5: Churn Until Soft Serve
Pour the chilled custard into your ice cream maker. Depending on your model, like a Cuisinart or Whynter, follow the machine instructions closely. Churn until your ice cream reaches a soft serve consistency. This magical transformation happens as air is incorporated, creating that light and airy scoopability we all love.
Step 6: Freeze to Firm Up
For that perfect scoopable texture, transfer the churned ice cream into containers and freeze for at least one hour or longer. This final step ensures your Nourishing Honey Ice Cream Recipe has the delightful firmness to serve yet remains soft enough to dig into with ease, ready to be enjoyed any time.
How to Serve Nourishing Honey Ice Cream Recipe
Garnishes
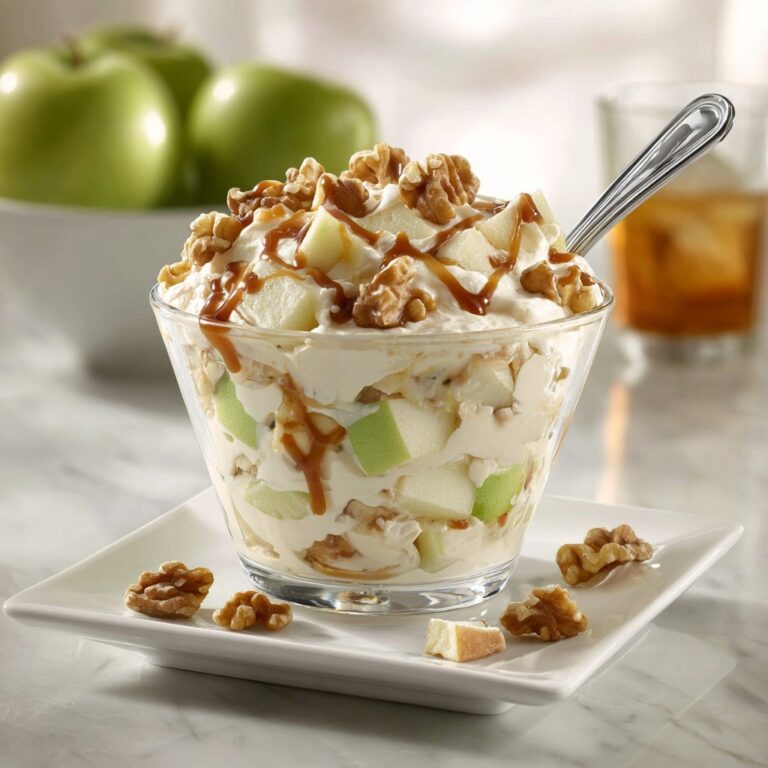
Elevate your ice cream by topping with toasted nuts like almonds or pistachios for crunch, a drizzle of extra honey for sweetness, or fresh berries to add tart contrast. Sprinkle a pinch of sea salt flakes to balance the sweetness beautifully.
Side Dishes
This luscious honey ice cream pairs wonderfully with warm desserts such as spiced apple pie, poached pears, or a fluffy slice of pound cake. It also shines served alongside seasonal fruit crisps for a comfort-meets-fresh dessert experience.
Creative Ways to Present
Get playful by serving your ice cream in edible waffle cones or elegant martini glasses for a special occasion. For a fun twist, sandwich the ice cream between thin honey cookies or pancakes to create a decadent treat with textural variety.
Make Ahead and Storage
Storing Leftovers
You can safely store any leftover Nourishing Honey Ice Cream Recipe in an airtight container in the freezer for up to two weeks. Be sure to press a piece of parchment paper directly on the surface before sealing to prevent ice crystals from forming.
Freezing
Freezing this ice cream gently after churning is crucial for that creamy texture. Avoid thawing and refreezing repeatedly as that can cause texture deterioration. If you freeze for longer storage, consider stirring it gently halfway through to maintain smoothness.
Reheating
Ice cream is best enjoyed chilled or frozen, so reheating isn’t recommended. However, if it’s too hard after freezing, let it sit at room temperature for 5 to 10 minutes before scooping to soften without melting.
FAQs
Can I use regular sugar instead of honey?
While regular sugar can be substituted, honey adds a unique depth and richness that sugar alone cannot replicate. It also contributes to the smoothness and natural sweetness, making this recipe special.
Is it necessary to use dry milk powder?
Dry milk powder helps achieve a creamy texture and reduces ice crystallization, which is particularly important in homemade ice creams without stabilizers. It’s highly recommended for the best results.
Can I make this recipe without an ice cream maker?
Yes, but the texture will differ. You can freeze the mixture in a shallow container and stir every 30 minutes until frozen to mimic churning, helping to reduce ice crystals.
How do I know when the custard base is thick enough?
The custard will thicken enough when it coats the back of a spoon and you can draw a clear line with your finger. This ensures that it’s properly cooked and will set well during freezing.
Can I add flavors other than vanilla?
Absolutely! Feel free to experiment by adding citrus zest, spices like cinnamon or cardamom, or even swirl in chopped nuts or dried fruits once churned. The honey base is versatile and pairs beautifully with many flavors.
Final Thoughts
This Nourishing Honey Ice Cream Recipe is truly a treasure to have in your dessert repertoire. It’s creamy, naturally sweetened, and wonderfully comforting. I can’t wait for you to try it and share it with your loved ones—there’s something incredibly special about homemade ice cream that nourishes both body and soul.
Print
Nourishing Honey Ice Cream Recipe
- Prep Time: 10 minutes
- Cook Time: 15 minutes
- Total Time: 3 hours 25 minutes
- Yield: 16 servings
- Category: Dessert
- Method: Stovetop
- Cuisine: American
Description
This Nourishing Honey Ice Cream recipe combines creamy whole milk, rich heavy cream, and natural honey for a smooth, subtly sweet frozen treat. Enhanced with vanilla bean paste and a touch of dry milk powder to boost creaminess, this homemade ice cream is gently cooked, chilled, and churned to achieve the perfect soft serve texture. Ideal for those who appreciate a natural sweetener and a luscious, velvety dessert.
Ingredients
Ice Cream Base
- 3 cups Whole Milk
- 3 cups Heavy Cream
- 1 cup Honey
- 1 1/2 cups Dry Milk Powder
- 6 large Egg Yolks
- 2 teaspoons Vanilla Bean Paste
Instructions
- Prepare the Milk Mixture: In a saucepan, whisk together the honey, whole milk, and dry milk powder until fully smooth. Stir in the heavy cream evenly. Warm this mixture over medium heat for 6-10 minutes, stirring occasionally to prevent scorching.
- Temper the Egg Yolks: In a separate large bowl, whisk the egg yolks. Gradually pour about 1/2 cup of the hot milk mixture into the yolks while whisking continuously to temper and avoid curdling. Then, combine this egg yolk mixture back into the saucepan with the remaining milk mixture. Cook over medium heat, whisking frequently, for another 5-10 minutes until the mixture thickens slightly to a custard-like consistency.
- Strain and Cool the Base: Prepare an ice bath by filling a large bowl with ice and water. Pour the cooked ice cream base through a fine-mesh strainer into another bowl to remove any lumps or cooked egg particles. Place the bowl in the ice bath and whisk in the vanilla bean paste until well incorporated.
- Chill the Mixture: Let the mixture sit in the ice bath for about 1 hour, then cover and transfer to the refrigerator for an additional 1-2 hours to ensure it is thoroughly chilled before churning.
- Churn the Ice Cream: Pour the chilled base into your ice cream maker following the manufacturer’s instructions (recommended machines include Whynter or Cuisinart). Churn until soft serve consistency is achieved.
- Freeze to Firm Up: Transfer the churned ice cream into containers and freeze for at least 1 hour or longer to harden. Serve with desired toppings and enjoy the creamy, naturally sweetened honey ice cream.
Notes
- Tempering the egg yolks carefully prevents curdling and ensures a smooth custard.
- Using dry milk powder intensifies the milk flavor and helps achieve creamier texture.
- Chilling the mixture well before churning is key to a smooth ice cream finish.
- For best results, use an ice cream maker with a pre-frozen bowl or a compressor unit.
- You can substitute honey with maple syrup or agave nectar for different flavor profiles.
- Store ice cream in an airtight container to prevent freezer burn and keep it fresh longer.


